Sometimes when bags of potatoes are on sale buy-one-get-one free at the market, my husband and I have to indulge, even though it leaves us with 6-10 lbs. of potatoes on our hands.  Our worst fear is that we'll decide against it, but then next week we'll need potatoes and feel like total chumps because we missed out on a free bag!  However, that leaves us with a bunch of potatoes, and in need of recipes!

On our anniversary trip Doug and I had escargot en cocotte, which was snails cooked in a small sturdy pot with a wonderfully luscious sauce of olive oil, tons of parsley and garlic.
Picture
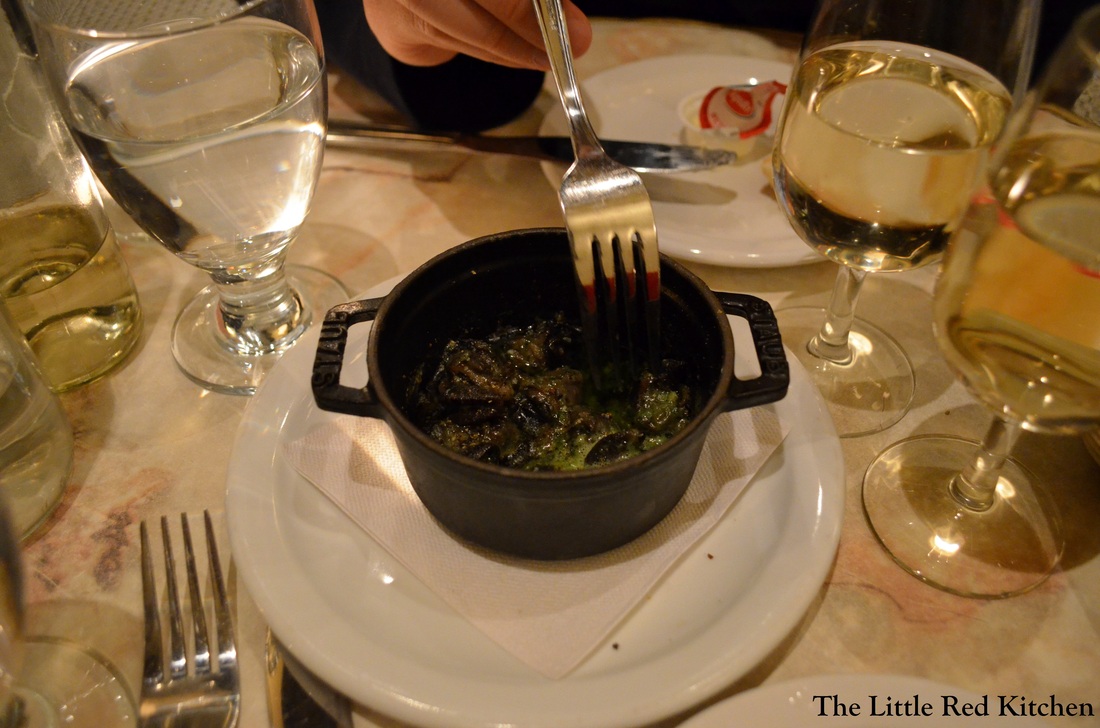
I was not about to cook snails at home, but I had to come back to Pennsylvania and do something with that amazing sauce, and potatoes seemed like the obvious choice.  But, the question in my mind was, how do I impart tons of flavor into the potatoes, but allow them to retain their great potato flavor? I decided to take a leaf out of the en cocotte book with this one.

Ingredients:
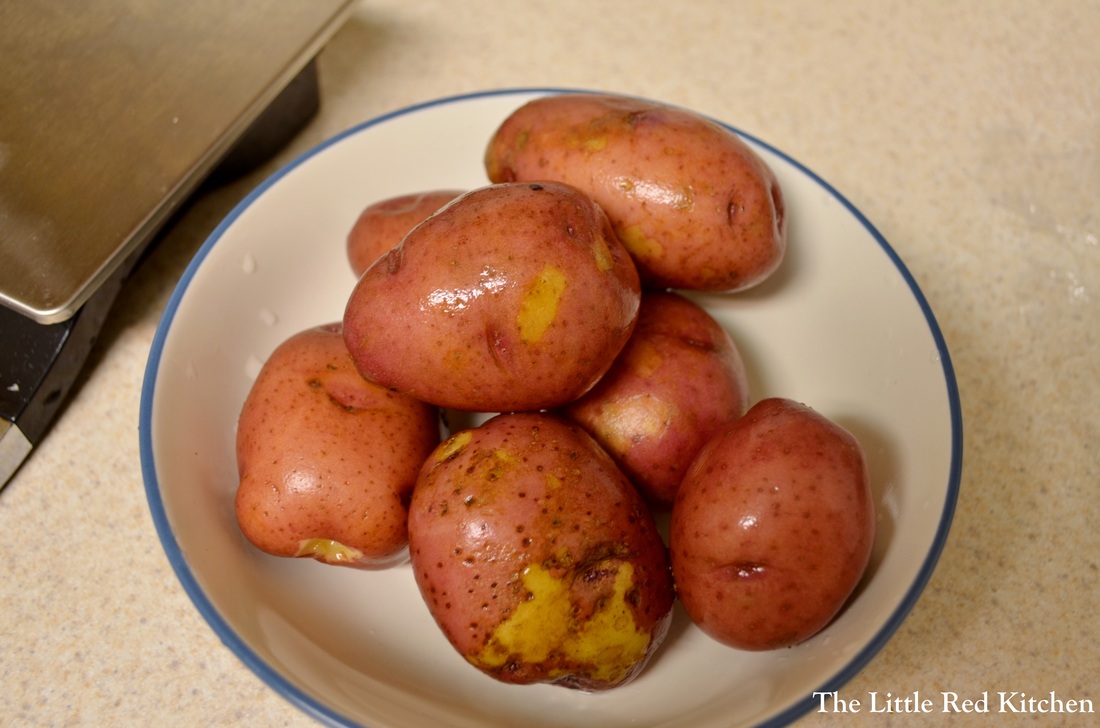
1-1.5 lbs small red potatoes, scrubbed clean with skin left on
4 cloves of garlic, minced
3 tbsp. olive oil
1/4 cup chopped parsley
1/2 tsp. kosher salt

Step 1:
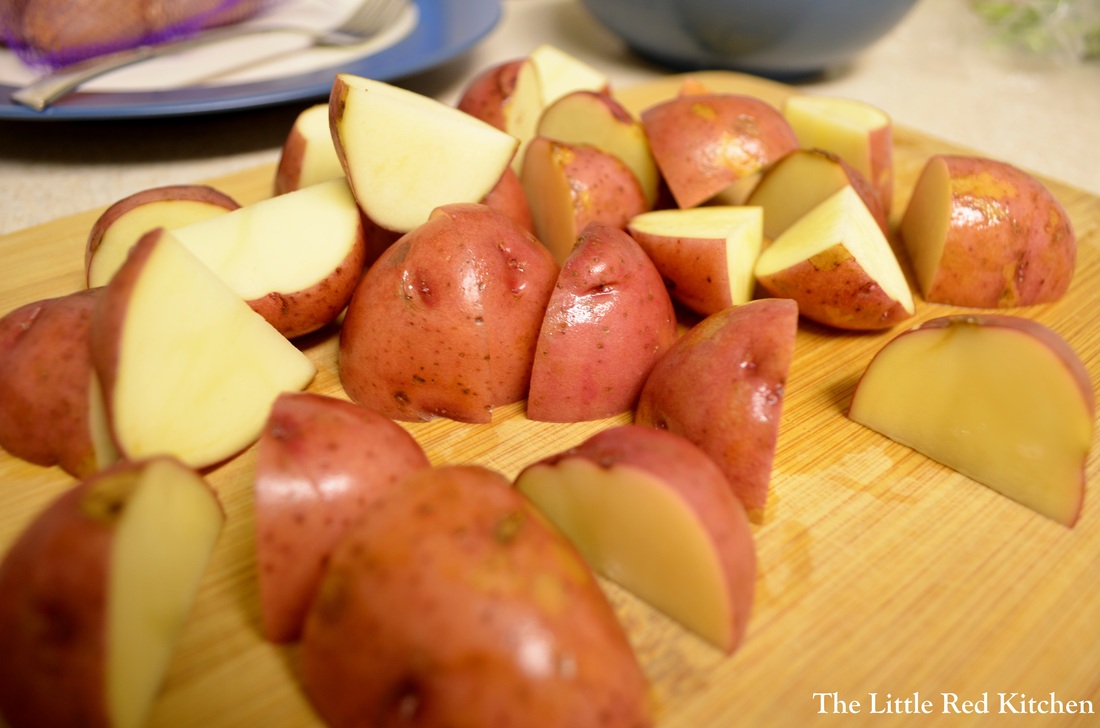
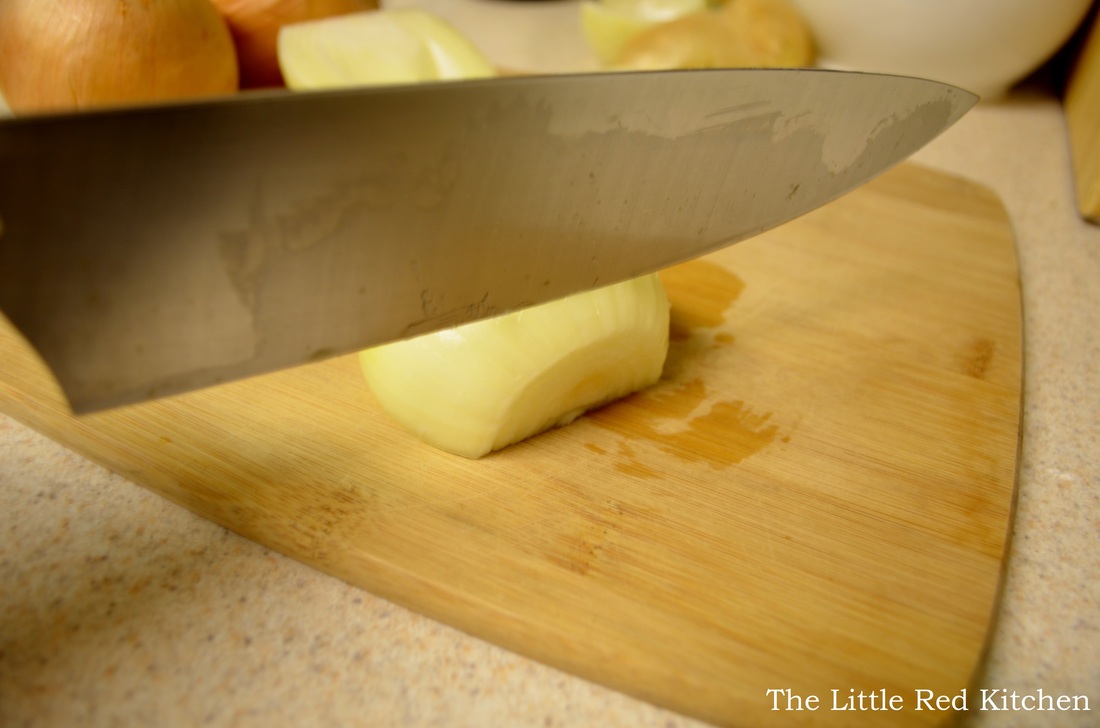
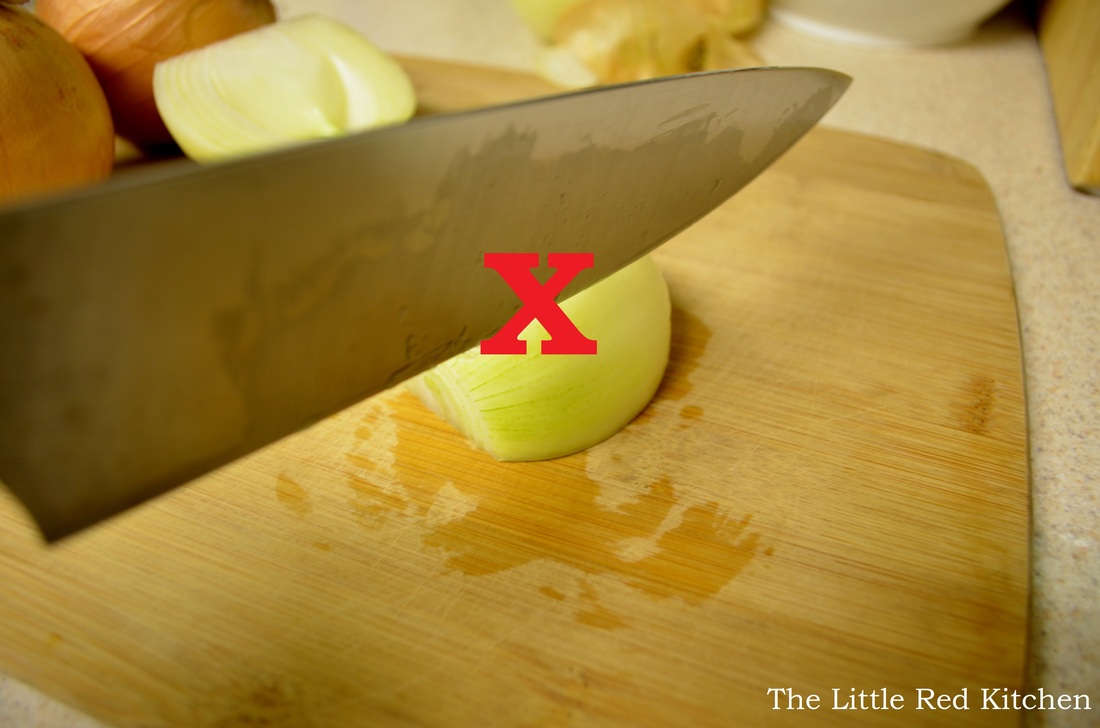
Cut the potatoes into about 1-inch pieces.  Depending on the size of the potatoes this could mean halving them or quartering them.
Picture
Picture
Step 2:
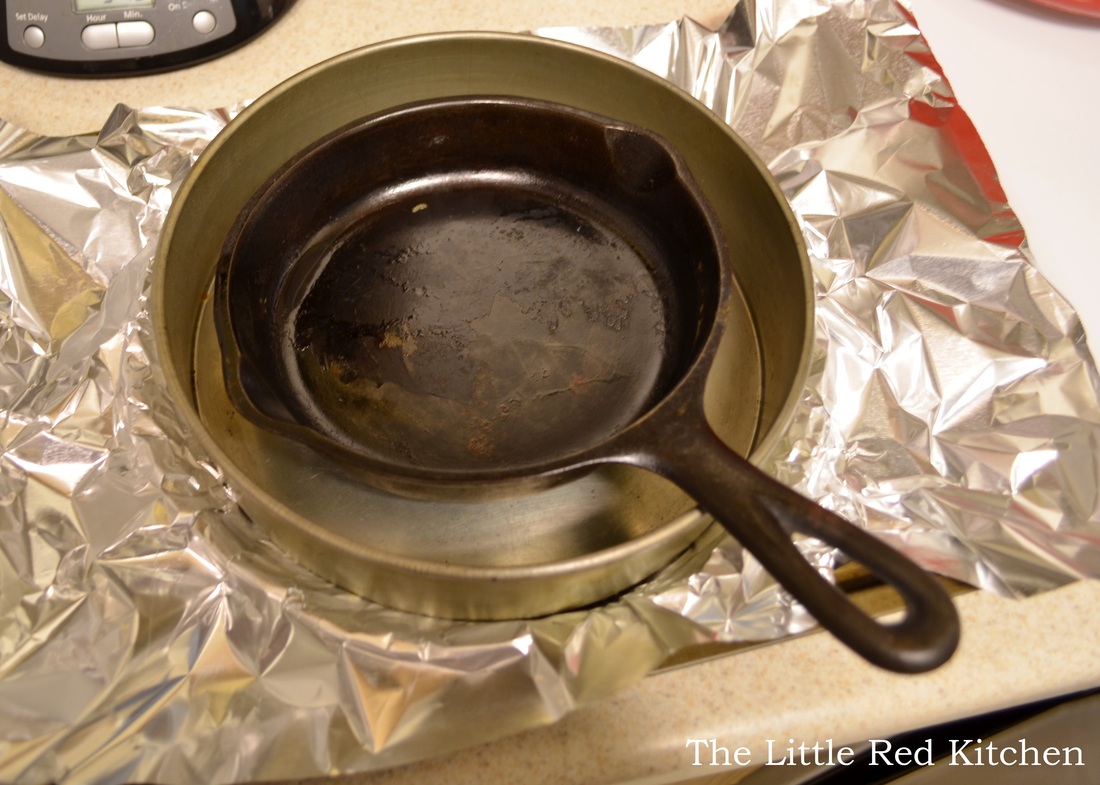
Add the olive oil and garlic to a cold 10-inch skillet or wide-bottomed saucepan.  Heat it over medium-low heat, and when the garlic starts to sizzle, add the potatoes, parsley, salt, and a tbsp. of water.  Stir to evenly coat the potatoes, cover, and cook for about 10 minutes, until the edges are starting to turn translucent.
Picture
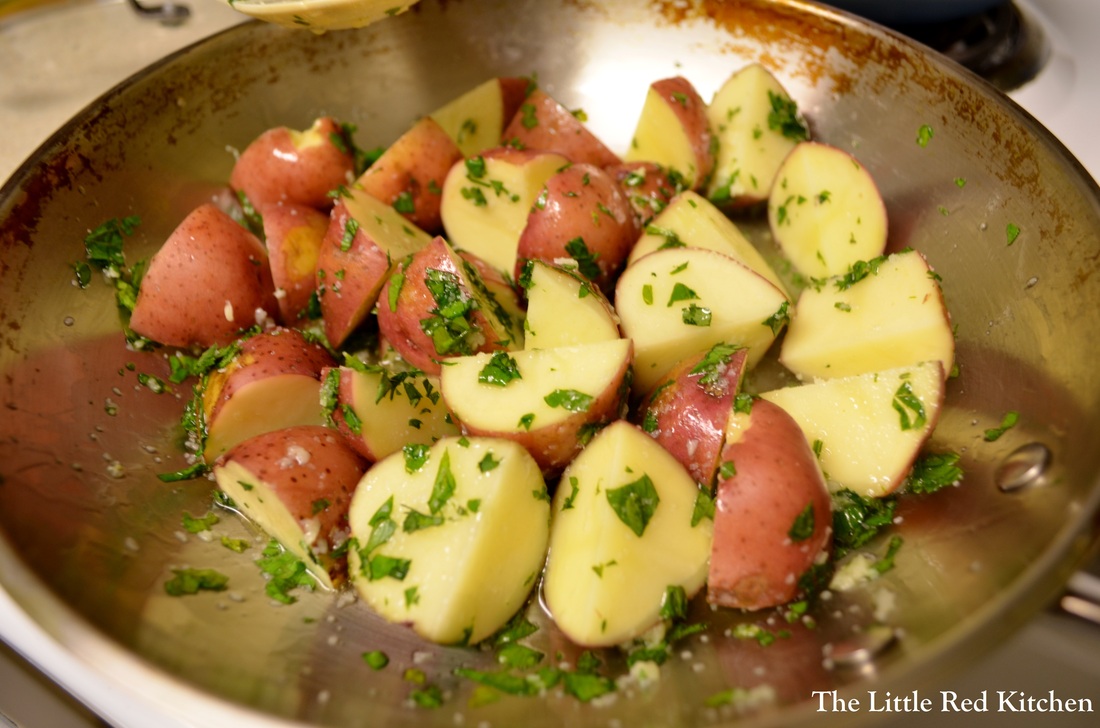
The science: One of the culprits of flavorless potatoes is water.  If you overcook potatoes when you are boiling them, they get waterlogged and this flushes out all of the flavor.  If you've ever had flavorless mashed potatoes, that is the culprit.  By basically poaching these potatoes in olive oil and just a tiny bit of water to keep anything from burning, the only liquid they will steam in is their own juices!  You will get potatoes that have tons of herb and garlic flavor, but that actually taste like potatoes.

Step 3:
After the first 10 minutes, give everything a stir, then re-cover and cook for another 10 minutes, or until the potatoes are cooked through.  When you can insert a paring knife into a potato piece and it meets no resistance, you are there!

Simply pour the potatoes into a dish and serve!
Picture
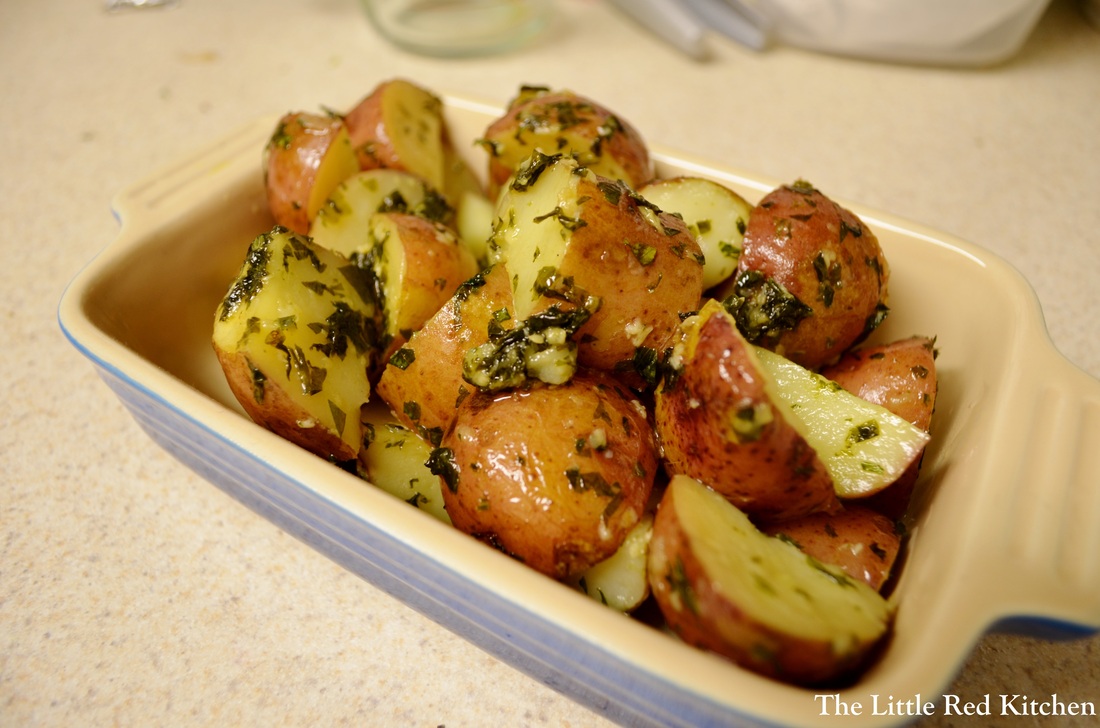
These yummy, luscious potatoes are the perfect side dish to just about anything from roast chicken to steak.  Eat and enjoy!

~Lauren
Picture
 
My husband and I recently spent a long weekend in Quebec, and of course a lot of their food is French-inspired.  We didn't have a meal that wasn't completely delicious while we were there (but that's a different blog post!) and as soon as we returned home I was hankering to bring French cuisine into my kitchen.  Which brings me to the French bacon and onion tart.

The savory, mouth-watering, transcendant, tart...  This dish is honestly one of the best I've cooked in a while.  It is absolutely fantastic, and while it does take a little time, you will be HIGHLY rewarded for your efforts!  This recipe is brought to you, via me, via America's Test Kitchen.

Ingredients:
Tart Shell:

1 1/4 cups all-purpose flour (6 1/4 ounces for those of you weighing)
1 tbsp. sugar
1/2 tsp. salt
8 tbsp. (1 stick) unsalted butter, cut into 1/2-inch cubes and kept well chilled
2-3 tbsp. ice water

Filling:
4 slices of bacon, sliced long ways and then cut into 1/4-inch pieces
1.5 lbs. yellow onions, halved and cut into 1/4-inch slices *See photos below
1 sprig fresh thyme
3/4 tsp. salt
2 large eggs
1/2 cup of half and half
1/4 tsp. ground black pepper

You need a 9 or 10-inch tinned-steel tart pan with a removable bottom, like the one shown below.  It needs to be sprayed with nonstick cooking spray.
Picture
This may seem like a silly piece of hardware to have, but think of all the tarts (savory AND dessert) you can make with it!  I got mine from Williams-Sonoma for $12, and it's beautiful, and made by a French company that's been in the bakeware business since the 1800s!  It's the perfect tart pan, but the bottom line is, you need a tart pan.

Step 1--Create the tart shell:
For the tart shell, place the flour, salt, and sugar into your food processor fitted with the steel blade and pulse just a few times to combine.  Then place the butter pieces on top and process until the mixture resembles course sand, about 15 1-second pulses.
Picture
Picture
Pour in 2 tbsp. of ice water and process until the dough starts to come together into clumps and there is no dry flour left in the bowl.  If this hasn't happened after about 5-10 seconds, add the other tbsp. of water.
Picture
Dump this mixture into your greased tart shell, breaking it up into large, walnut-sized pieces.  then begin patting them out in the pan, working from the center out.
Picture
This dough is really easy to work with, just take your time.  Once you've reached the edge of the pan, use the heel of your hand to start smoothing out the surface, and pushing the dough up the edges of the pan, into the fluted walls.
Picture
As you can see in the above picture, you'll have some places where the dough sticks up over the top.  Use your thumb or fingers to level it off, then use that extra dough to patch up any spots that seem thin.
Like I said, this is easy, but it takes patience.  And actually, this was my first time ever fitting a pressed dough into a tart shell, so if I can do it, you definitely can. :)
Picture
Cover the tart shell with plastic wrap, put it on a plate, and place in the freezer for 30 minutes. 

Step 2--Prep:
While the tart shell is hanging out in there is a good time to prep the bacon and onions.  You want to make sure you cut the onions across the sliced ends like this:
Picture
NOT pole to pole, like this:
Picture
Step 3--Pre-bake the tart shell:
After you have finished prepping, pre-heat the oven to 375 degrees, with the oven rack in the middle of the oven.  When the tart shell's 30 minutes are up in the freezer, take it out, remove the plastic wrap, and place it on a baking sheet.  Spray a large piece of aluminum foil with cooking spray and fit it onto the tart shell.  Fill the shell with pie weights.
Oh, you don't have pie weights? Me either! Instead, I used a mini cast-iron skillet inside a cake pan.  Use whatever you have that is oven safe and will weigh between 2 and 3 pounds.
Picture
Bake for about 30 minutes; the shell should have started to brown slightly, and the bottom should no longer look wet.
Picture
Remove the foil and weight that you used and continue to bake for 5-10 minutes until nicely browned all over.  Then just set on a wire rack and let it wait for that wonderful filling!

Step 4--the filling:
While the tart shell is in the oven, place the bacon in a 12-inch nonstick sauté pan and cook over medium heat for 8-10 minutes, until browned and the fat has rendered.
Picture
Drain the bacon through a mesh strainer, catching the fat in a small bowl.  Put 2 tbsp. of said fat back into the pan and add the onions, salt, and thyme sprig.  Cover with a lid and cook over medium heat for 10 minutes until the onions have released some of their liquid, wilted, and started to brown.
Picture
Turn the heat down to low, replace the lid, and cook for 15 minutes; the onions should get really brown and caramelized, aka vegetable candy.  Remove the lid and continue to cook for another 5 minutes, so any excess liquid can cook off.
Picture
Remove the thyme sprig and let sit off the heat for 5 minutes.  Now, you are almost there!  While the onions are cooling down, in a large bowl combine the eggs, half and half, and pepper.  Then dump the onions in and stir to combine, and pour into the tart shell.  Sprinkle the bacon on top.
Picture
Look how good that looks, and it's still raw!

Bake for 20-25 minutes, until the center of the tart is firmly set.  Cool on a wire rack for 10 minutes.  When ready to serve, remove the tart pan ring...there is no easy or masterful way to do this, just get it off there!  Then I placed the whole tart on a cutting board and used a spatula to slide it off the bottom of the tart pan.  Cut into wedges and serve!
Picture
Sure, this recipe takes a long time to make.  But the good news is, there is never more than 1 active thing going on; while the tart is freezing or baking, you are working on prepping and cooking the filling.  And just look at that beauty.
Picture
This tart is much lighter than a traditional quiche, which can use anywhere from 6-12 eggs, and almost always uses heavy cream.  The bulk of the filling here is those creamy, caramelized onions; so mild, so sweet, and so perfectly contrasted with the crunchy, salty bacon.  The shell turned out outstanding, and remember, it was my first time making one too!  Moist but not soggy, crumbly but not dry, and that edge has THE perfect crunch!  This tart is somehow both elegant and completely satisfying.  Serve it up with a salad for brunch, lunch, or dinner, and you will have nothing but happy diners on your hands.

~Lauren
Picture
Picture